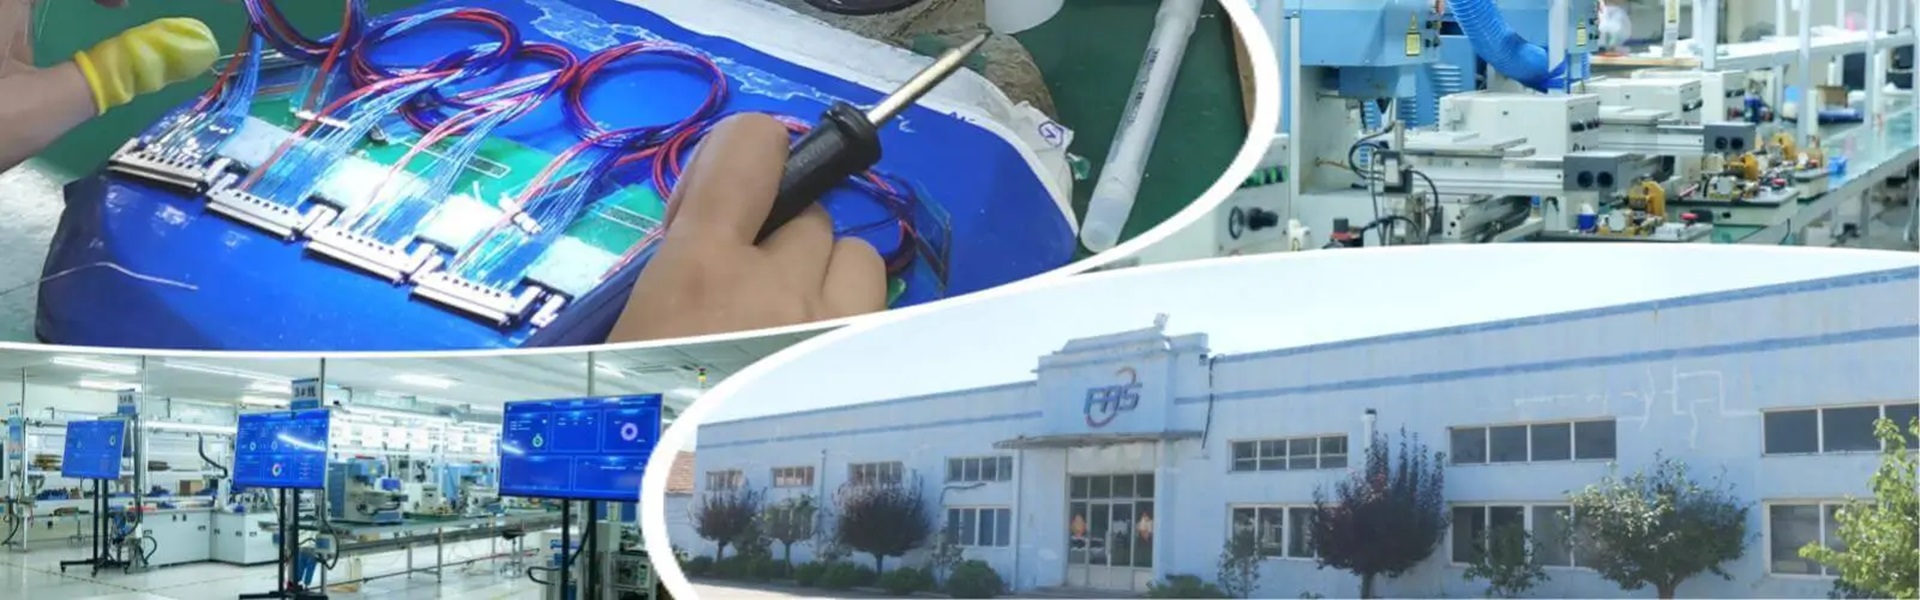
The Fast & Efficient Solution: Quick Repair Methods for Damaged Aviation Cables
A damaged aviation cable isn’t just a minor inconvenience; it’s a potential flight delay, operational disruption, and significant safety concern. Every minute an aircraft is grounded due to wiring issues costs airlines money and erodes passenger confidence. Finding quick, effective, and compliant repair methods is paramount for maintenance crews, airlines, and MRO (Maintenance, Repair, and Overhaul) facilities.
This guide delves into proven strategies for rapidly repairing damaged aviation cables, ensuring minimal downtime while maintaining the highest safety standards required by aviation authorities (like FAA/EASA).
The Critical Nature of Aviation Cable Integrity
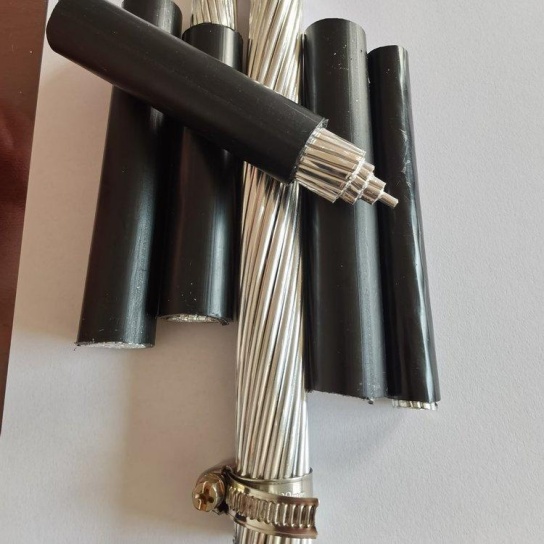
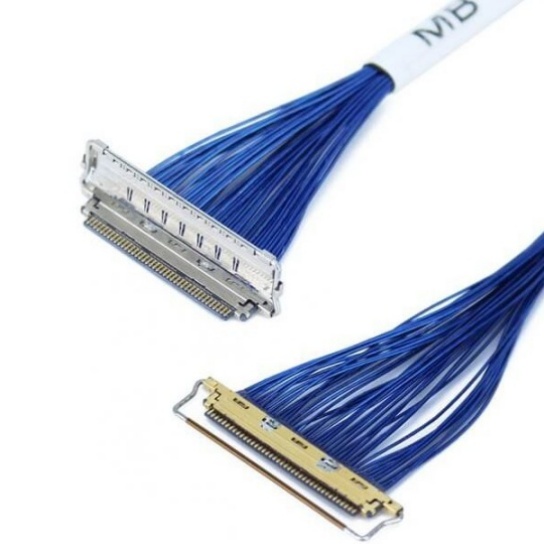
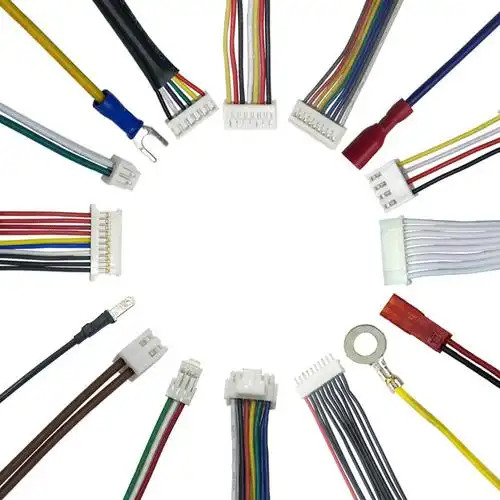
Aviation cables (wire harnesses, looms) form the central nervous system of an aircraft. They carry vital signals and power for:
- Flight Control Systems: Ailerons, rudders, elevators.
- Engine Management: Critical sensor signals, fuel control.
- Navigation & Communication: GPS, radios, transponders.
- Environmental Systems: Cabin pressure, temperature control.
- Landing Gear & Brakes.
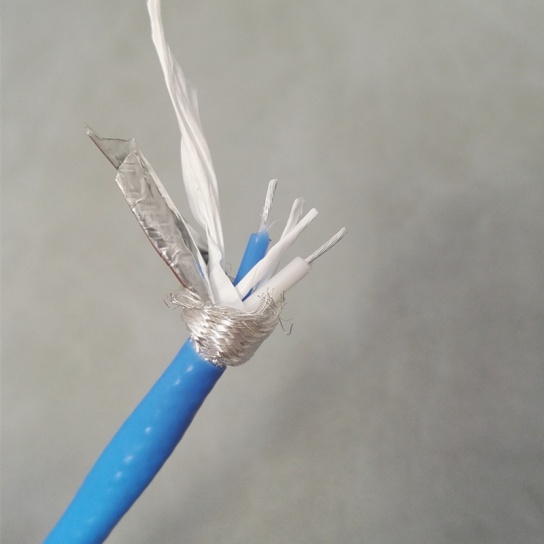
Damage – whether from abrasion, chafing, impact, rodent activity, or environmental stress – can compromise insulation, shield effectiveness, and conductor integrity. This leads to intermittent faults, complete system failure, potential electromagnetic interference (EMI) issues, or in worst cases, fire hazards. Rapid detection and remediation are non-negotiable.
Recognizing Common Damage & Prioritizing Action
Quick action starts with knowing what to look for:
- Visible Insulation Breach: Cuts, nicks, gouges, melted spots. **(HIGH Priority)**
- Shield Damage: Frayed, torn, or missing braided shielding exposing inner conductors. **(HIGH Priority – EMI Risk)**
- Conductor Damage: Broken strands within the wire core itself. **(HIGHEST Priority)**
- Chafing/Abrasion: Worn outer jacket due to rubbing against structure or other components.
- Pinched/Crushed Cable: Compression damage potentially affecting multiple wires inside.
- Water Intrusion: Evidence of moisture inside the cable bundle, potentially corroding connections.
Fast & Effective Repair Methods for Damaged Aviation Cable
The choice of method depends heavily on the exact location, severity of damage, wire type (power, signal, sensitive avionics), and regulatory requirements. ALWAYS consult the applicable Aircraft Maintenance Manual (AMM), Wiring Diagram Manual (WDM), and Standard Practices Manual before proceeding. Safety and compliance are paramount.
Here are the primary rapid repair techniques:
- Splicing & Terminating:
- Scenario: Damage localized to a manageable section of wire, typically not involving the connector backshell itself. Ideal for replacing a damaged segment.
- Process:
- Remove damaged section using certified wire strippers/abrasive cord cutters.
- Cut replacement wire (same gauge, part number, and insulation type) to length.
- Strip insulation carefully to specified length.
- Perform crimp splicing using FAA-PMA approved splice connectors/butt splices and calibrated crimp tooling. Solder splices are generally not accepted for primary repairs in aviation due to potential cold joints and brittleness.
- Seal the splice meticulously with dual-wall adhesive heat shrink tubing or approved environmental splice kits.
- Properly support the repaired section (cable ties, clamps).
- Key Benefits: Cost-effective, relatively fast for single-wire repairs, well-understood process. Requires certified tooling and strict adherence to crimping specs.
- Segment Replacement:
- Scenario: Extensive damage along a longer section of wire, or damage near a connector necessitates replacing a whole segment running between two accessible points/spline locations.
- Process:
- Carefully remove the damaged segment while tracing its exact path. Document meticulously.
- Fabricate a new wire segment identical to the original (length, gauge, part number, termination type).
- Route the new segment exactly as the old one was, ensuring no tension or chafing points.
- Terminate both ends correctly (crimps or connector pins, as required) using certified processes and tooling.
- Secure the new segment properly along its route.
- Perform continuity checks and potentially functional/system tests.
- Key Benefits: Provides a “like new” solution for significant damage. Faster than rebuilding an entire long harness. Often more reliable than multiple splices.
- Connector Plug/Receptacle Replacement:
- Scenario: Damage is localized at or very near the connector backshell/pins/sockets. Requires swapping the entire connector shell or receptacle.
- Process:
- Access the connector (often requires removing panels or components).
- Document the pin/socket assignments (photo/diagram) meticulously before disconnecting any wires.
- Carefully depin each wire from the damaged connector housing using certified extraction tools.
- Prepare and install each wire into a new, identical, approved connector shell/receptacle using certified crimp pins/sockets and tooling. Follow pinning diagrams exactly.
- Install new backshells, potting, or strain relief as specified.
- Perform comprehensive continuity checks (pin-to-pin/pin-to-wire-end) and insulation resistance tests.
- Key Benefits: Fixes damage directly at connection points, which are common failure locations. Restores connector integrity. Requires high skill and precision.
Critical Considerations for ANY Rapid Repair
- Regulatory Compliance: Every step must comply with the AMM, WDMs (Wiring Diagram Manuals), ESD (Electrical Standard Devices Manual), and manufacturer service bulletins. Non-compliant repairs are unsafe and lead to legal liability.
- Traceability: Use components with traceable certifications and documentation. Document the repair thoroughly in the aircraft maintenance log.
- ESD Protection: Essential when working with sensitive avionics wiring.
- Environmental Sealing: Repairs must be sealed to prevent moisture ingress (critical for flight safety).
- Strain Relief: Ensure repaired sections or new terminations have proper support to prevent future damage.
- Testing is Mandatory: Continuity checks, insulation resistance checks (megger testing), and potentially functional or operational checks post-repair are non-negotiable.
Preventing Future Damage: The Proactive Approach
While quick fixes are crucial, prevention is better (and cheaper):
- Regular Inspection: Implement rigorous visual inspections per maintenance schedules for chafing, abrasion, pinching.
- Protection: Ensure conduit, grommets, cable clamps, and protective sleeving (spiral wrap, braided loom, conduit) are correctly installed and maintained. Replace damaged protectors immediately.
- Secure Routing: Avoid loose wiring; secure bundles properly away from moving parts or hot surfaces.
- Rodent Mitigation: Use appropriate deterrents in hangars and around aircraft on the ground.