How to Test Aviation Cable for Attenuation: 2025 Practical Guide ✈️
Signal integrity is the lifeline of safe and efficient aircraft operation. Attenuation – the weakening of signals as they travel through cables – directly impacts communication clarity, navigation precision, and overall system reliability. Regular testing of aviation cable attenuation is not optional; it’s a critical pillar of preventative maintenance for any aircraft maintenance program. This guide details proven methods to accurately assess cable health.
Understanding the Enemy: Why Attenuation Matters in Aviation Cables
Performance Degradation: Weak signals cause garbled radio transmissions, unreliable sensor data, and sluggish data bus communication.
System Failures: Excessive attenuation can lead to intermittent faults or complete system dropouts.
Safety Implications: Compromised communication or navigation data due to signal loss poses inherent risks.
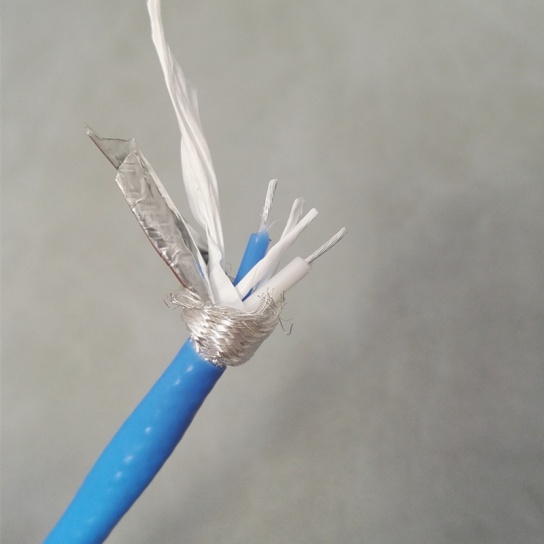
Hidden Damage: Attenuation testing can reveal problems like moisture ingress, connector corrosion, or conductor degradation before catastrophic failure occurs, saving significant time and cost.
Essential Tools & Preparation (Safety First!)
Vector Network Analyzer (VNA): The most accurate and comprehensive tool. Measures Insertion Loss (S21), directly indicating attenuation, and Return Loss (S11), indicating impedance mismatches and connector issues. Key for troubleshooting.
Time Domain Reflectometer (TDR): Ideal for locating the position of faults (shorts, opens, crimps, water ingress) causing attenuation. Shows impedance variations along the cable length.
Precision Test Cables & Adapters: Flawless, high-quality cables calibrated specifically for the frequency range of your aircraft systems. Mismatched adapters introduce significant error.
Cable Schematic & Pinout: Essential for identifying conductors under test and verifying correct connections. Know your aircraft wiring diagram!
Calibration Standards (Open, Short, Load – OSL): Absolutely mandatory for VNA calibration at the specific test ports/cables before each session.
Documentation: Log sheet for recording results (frequency, attenuation values, cable ID, date) for traceability and trend analysis.
**⚠️ Critical Safety Protocols ⚠️**
Aircraft Power: Ensure the aircraft and relevant systems are powered DOWN. Testing energized cables risks equipment damage and severe injury.
Environment: Test in a dry environment free of potential contaminants. Moisture drastically impacts readings.
ESD Protection: Use grounded wrist straps and mats when handling connectors and test equipment.
Step-by-Step: How to Test Aviation Cable Attenuation
Phase 1: Setup & Calibration (The Foundation of Accuracy)
Identify & Isolate: Locate the specific cable assembly under test using the schematic. Disconnect both ends from all aircraft systems.
Connect Test Equipment:
Connect the VNA’s Port 1 to one end of the aviation cable via your calibrated test cable/adapters.
Connect the VNA’s Port 2 to the other end of the aviation cable via a second calibrated test cable/adapters.
Ensure adapters are securely mated and fully seated. Loose connections ruin measurements.
VNA Calibration (OSL):
Perform a full 2-port calibration (SOLT) using the OSL standards. This calibration must be done at the very end of your test cables, effectively removing their influence from the measurement.
Confirm calibration success on the VNA display.
Phase 2: Configure & Measure
Set Frequency Range: Configure the VNA to sweep across the operational frequency band of the system the cable serves (e.g., 118-137 MHz for VHF COM, 960-1215 MHz for DME/Mode S, specific ARINC 429/629/664 frequencies). Crucial! Testing outside the relevant band gives useless data.
Define Measurement: Select S21 (Magnitude) as the primary measurement. This is the Insertion Loss, directly equivalent to the attenuation through the cable.
Set Parameters:
Select appropriate Number of Points (e.g., 401 or 801 for good resolution over wide bands).
Set a Moderate Sweep Speed to ensure stability.
Set Averaging (e.g., 8-16 averages) to reduce random noise.
Run the Sweep & Observe:
Initiate the frequency sweep.
Observe the S21 trace on the VNA display. The Y-axis shows attenuation in dB.
Record Key Values:
Attenuation at Specific Frequencies: Note the loss at critical frequencies within the system’s band (e.g., highest operational frequency usually has highest loss).
Overall Trace: Capture the trace shape (use VNA screen capture or plot function if available). A smooth trace is ideal.
Peak/Maximum Attenuation: Often the value at the highest tested frequency.
Measure Return Loss (S11): Select S11 on the VNA. High return loss (less negative dB value) indicates significant impedance mismatches, often at connectors or damaged points, contributing to signal reflection and loss.
Phase 3: Interpretation & Troubleshooting
Compare to Specifications: Compare measured attenuation values to the manufacturer’s datasheet or aircraft maintenance manual (AMM) limits for that specific cable type and length. E.g., “RF Cable Assembly XYZ-123, 5m length: Max Attenuation @ 1000 MHz = 3.0 dB”.
Excessive Peaks/Dips: Can indicate localized damage, poor connectors, or kinks.
Higher than Spec Attenuation: Likely cable degradation. Requires inspection/repair/replacement.
Poor Return Loss (S11): Values near 0 dB (e.g., -6 dB) indicate severe mismatch. Values above -10 to -15 dB in critical bands warrant investigation.
TDR Integration: If VNA results show high loss or poor S11, disconnect the VNA. Connect the TDR to one end of the cable with appropriate termination at the far end. The TDR trace will show distance to impedance mismatches (faults).
Beyond the Numbers: Interpreting Real-World Results
”This looked like a simple cable swap,” shared Alex R., Lead Avionics Tech, “until VNA attenuation testing revealed connector pin fretting corrosion hidden deep within the cannon plug. Saved us chasing phantom bus errors later.”
Trending is Key: Recording attenuation values over time on the same cable can reveal gradual degradation before failures occur.
Manufacturer Limits vs. Criticality: While meeting the manufacturer’s spec is necessary, consider the criticality of the system. For safety-critical systems, replacement might be prudent even if marginal.
Conclusion: Precision Ensures Performance
Regular and precise attenuation testing using calibrated VNAs is paramount for maintaining robust aircraft communication, navigation, and data systems. By following rigorous methods and safety protocols, aviation maintenance professionals can diagnose hidden cable issues, prevent costly inflight failures, and guarantee the vital signal strength required for safe operations. Integrate these tests proactively into your scheduled maintenance routines. Don’t just hope your cables are good – measure and know. ✈️
Premium Aviation Cables for Aircraft Systems: Elevating Safety and Performance
In the demanding world of aviation, reliability and precision are non-negotiable. Premium Aviation Cables for Aircraft Systems are engineered to meet the r.
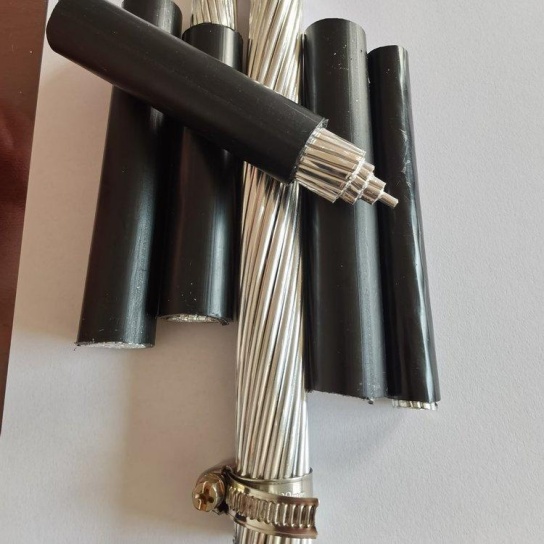
Designed to meet the rigorous demands of modern aviation and defense systems, Lightweight MIL-SPEC Aviation Wiring Cables represent the pinnacle of reliability, durability, and performance. Engineered to comply with stringent military sp.
When it comes to aviation safety and performance, every component must meet the highest standards—especially electrical systems. High-Temp Resistant Aviation Electrical Cables are engineered to deliver unparalleled durability and reliabi.
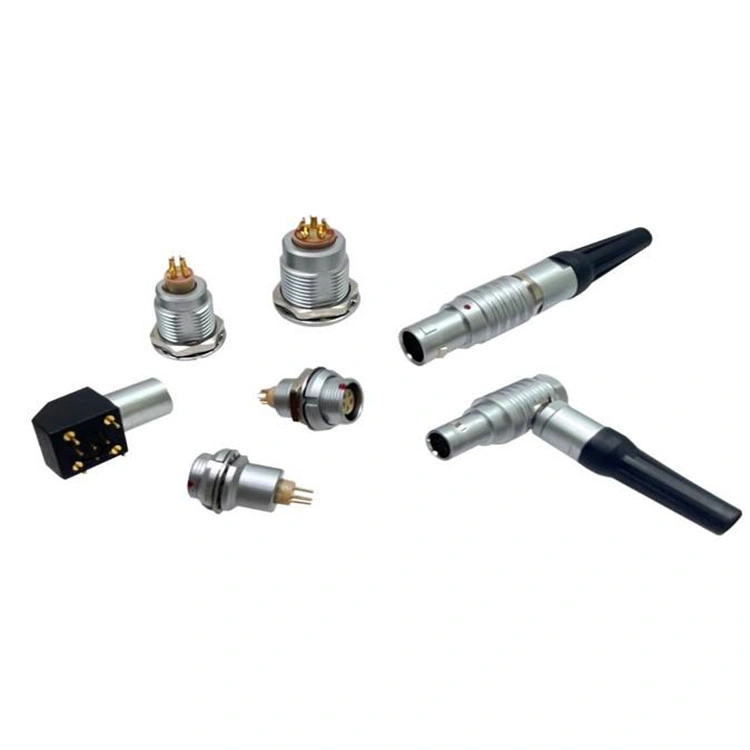
Product Overview: aviation cable
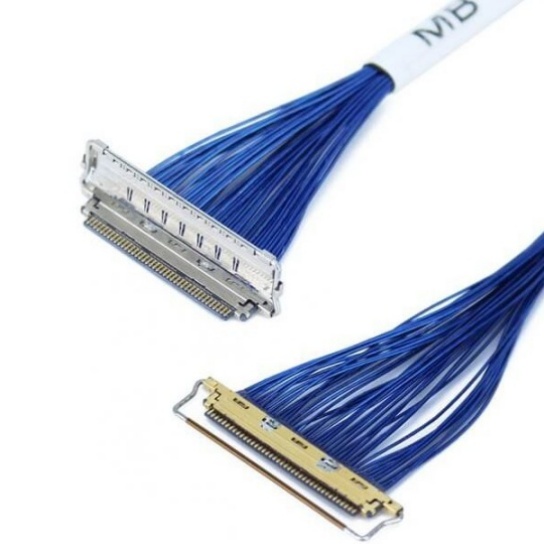
Machine vision cables are specialized components designed to ensure high-speed, stable data transmission and signal integrity in automated imaging systems. Key features include:
Technical Specifica.
From commercial airliners to military drones, aviation cables are the unsung heroes ensuring reliable power, data, and signal transmission in the skies. These specialized cables are engineered to withstand extreme conditions—think turbule.