How to Calculate Aviation Cable Length Requirements? (Exactly & Safely)
Getting the cable length right in an aircraft isn’t just neat – it’s critical. Too short, and you risk dangerous tension, fraying, or a failure to connect. Too long, and you get excessive slack, chafing, snagging, or unprofessional routing. Whether you’re replacing a control cable, installing an antenna line, or running new avionics wiring, here’s how to calculate aviation cable length requirements precisely.
Why Precision Matters (Safety First!)
Unlike household wiring, cables in aircraft are under tension (like control cables), must fit precisely through bulkheads and guides, and are subjected to vibration and environmental extremes. Incorrect length compromises:
Control System Integrity: Slack or binding affects responsiveness and safety.
Wire Chafing: Excess cable rubbing against structure wears insulation, risking shorts or fires.
Interference: Poorly routed long cables can interfere with moving parts.
Weight & Drag: Every extra ounce matters. Excess cable adds unnecessary weight.
Professionalism & Airworthiness: A sloppy install signals poor maintenance.
The Key Factors in Calculating Cable Length
Route Path: This is THE most crucial step.
Identify Start & End Points: Exactly where does the cable attach (terminate) at both ends? (e.g., Bellcrank arm bolt hole, terminal block pin, antenna connector base).
Trace the Exact Path: Follow the planned routing meticulously. Note every:
Turn: Direction changes.
Bulkhead Pass-Through: Where the cable penetrates a fuselage/wing rib/etc.
Pulley / Fairlead / Cable Guide: These change the cable direction and add length.
Clamps & Standoffs: Points where the cable is secured to the structure. Distance from the clamp to the nearest bend matters.
Consider Aircraft Movement: For control cables or cables near flight control surfaces, ensure sufficient length exists throughout the entire range of travel (e.g., full up/down elevator, full left/right aileron).
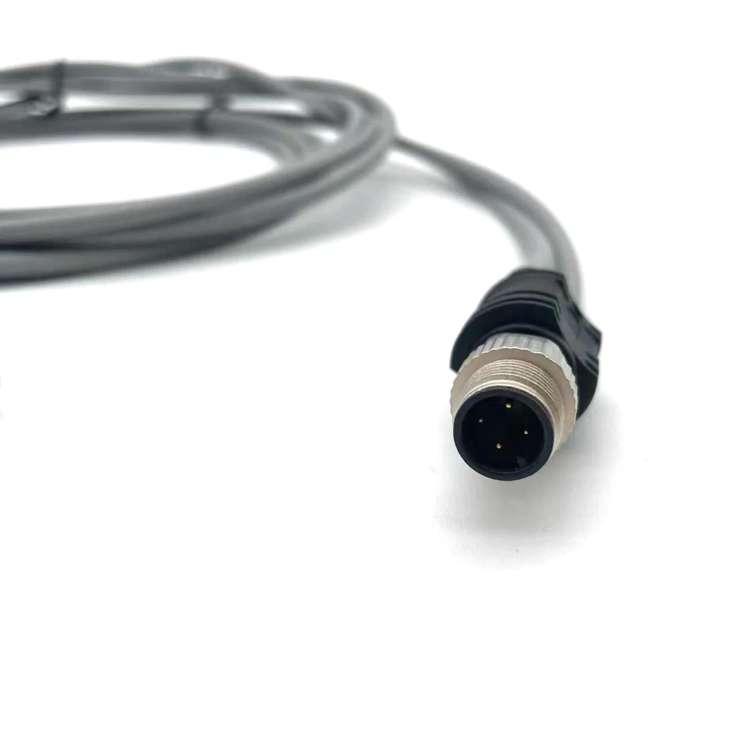
Termination Type & Requirements:
How will each end be secured? Examples: Fork end, eye end, threaded rod end, swaged terminals, solder cups on connectors, terminal lugs?
Each termination adds significant length. The specific hardware (turnbuckle, clevis, connector body) requires a certain amount of “straight” cable before the actual terminal starts. Refer to manufacturer datasheets!
Example: A Nicopress® sleeve requires a specific length of cable beyond where it’s swaged. A solder-type connector needs wire length beyond the rear of the connector body for soldering and heat shrink.
Sag (for Tensioned Cables):
Control cables aren’t taut like a guitar string. They have deliberate, engineered sag between pulleys/guides to prevent overload and vibration fatigue.
Your calculation must INCLUDE this sag length. Standard sag specifications (often a percentage of the span or set dimensions) come from the aircraft’s Service Manual or relevant maintenance documentation (like AC 43.13-1B). Never guess sag. If a cable runs 20 inches between two pulleys and the manual specifies 1 inch of sag, you must account for that extra inch.
Methods for Calculating Length:
Using the Aircraft Manual & Diagrams:
Best Practice: Always start here. Many aircraft manuals provide specific cable length specifications or extremely detailed routing diagrams with distances called out. Check the IPC (Illustrated Parts Catalog), Service Manual, or wiring diagram manual.
The Mathematical Method (When Exact Dimensions Are Known):
Ideal if the route consists mostly of straight runs and measured angles.
Break the route into segments: Measure the straight-line distance between each fixed point (pulley centers, clamp centers, bulkhead penetration points, termination attachment points).
All Termination Allowances (from the hardware specs) at both ends.
Length for Loops: If going around a pulley (360°), add one full circumference of the pulley (π * Pulley Diameter) plus any required entrance/exit allowances per the manual. For fairleads or guides (< 90° bends), add less (refer to AC 43.13-1B for bend allowance charts).
Add Tolerance: Apply manufacturer-recommended tolerances (e.g., +1/8″, +0/-0). Never assume you are perfect. AC 43.13-1B often provides guidance.
The Practical “Test Fit” Method (Most Common for Replacement/Repair):
Often the most accurate method, especially for complex runs.
Use Existing Cable as Template (If Available & Correct): Carefully route the old cable exactly along its intended path. Measure its total length including terminals. Note: Only use this if the old cable was the correct length and not previously replaced incorrectly!
Create a “Dummy” Cord:
Use flexible cord, light rope, or even thin safety wire.
Route it meticulously along the exact path the new cable will take. Go through every pulley, fairlead, and bulkhead grommet. Secure it at clamp locations as the cable would be, simulating sag in tensioned runs (a small weight helps).
Pull it taut enough to eliminate unintended slack but maintain the required sag specifications in spans.
At each termination point, ensure the dummy cord reaches the exact attachment point (bolt hole, pin center).
MOST IMPORTANT STEP: Add Termination Allowances: Measure the total length of the dummy cord. Now, add the required terminal length allowance FOR EACH END (from the hardware specifications). This is the single most common mistake – forgetting to add enough for the terminals!
Add Tolerance: Again, apply a small tolerance (+1/8″ is common).
Step-by-Step Calculation Summary:
Identify Start Point (Attachment). (Where does it physically connect?)
Identify End Point (Attachment).
Map the Exact Route (all turns, guides, pulleys, clamps).
Determine Sag Requirements (for tensioned cables).
Choose Method: Manual Specs / Math using segments & formulas / Dummy Cord.
Calculate Core Route Length.
ADD Sag lengths.
ADD Terminal Allowance Length for START Terminal.
ADD Terminal Allowance Length for END Terminal.
ADD Required Tolerance (if applicable).
Double-Check: Walk the route mentally with your length. Does it make sense? Test fit if possible.
Critical Tips for Success:
ALWAYS Prioritize Manufacturer Data: Aircraft manuals and component specs override any general rule.
NEVER Forget Terminal Allowances: This is the #1 error. Look them up.
Account for Sag: Cannot be stressed enough for control cables.
Use Appropriate Tolerances: +1/8″ is safer than -1/8″. Too long is usually correctable (within reason); too short is scrap.
Measure Twice (Thrice!), Cut Once: Cutting expensive cable or swaging irreversible terminals makes a mistake costly.
Consider Future Service Loops? While minimal slack is key, sometimes a small neat service loop at an access point is allowed (check manual), but never uncontrolled excess.
Confirm Before Cutting: Especially for critical cables, have a colleague check your route map and calculation.
Calculating aviation cable length demands attention to detail and understanding of the aircraft’s systems. By carefully considering the route, sag, terminations, and using a reliable method (especially the dummy cord), you can ensure you get the perfect length for a safe, professional, and airworthy installation. Always default to the aircraft manufacturer’s approved data when available.
Premium Aviation Cables for Aircraft Systems: Elevating Safety and Performance
In the demanding world of aviation, reliability and precision are non-negotiable. Premium Aviation Cables for Aircraft Systems are engineered to meet the r.
From commercial airliners to military drones, aviation cables are the unsung heroes ensuring reliable power, data, and signal transmission in the skies. These specialized cables are engineered to withstand extreme conditions—think turbule.
When it comes to aviation safety and performance, every component must meet the highest standards—especially electrical systems. High-Temp Resistant Aviation Electrical Cables are engineered to deliver unparalleled durability and reliabi.
Product Overview: aviation cable
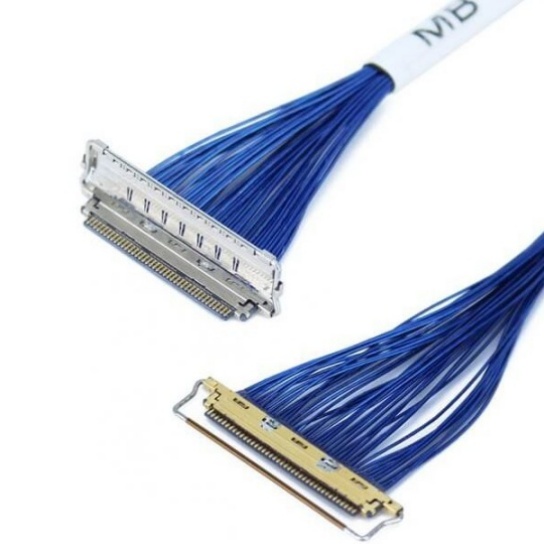
Machine vision cables are specialized components designed to ensure high-speed, stable data transmission and signal integrity in automated imaging systems. Key features include:
Technical Specifica.
Designed to meet the rigorous demands of modern aviation and defense systems, Lightweight MIL-SPEC Aviation Wiring Cables represent the pinnacle of reliability, durability, and performance. Engineered to comply with stringent military sp.